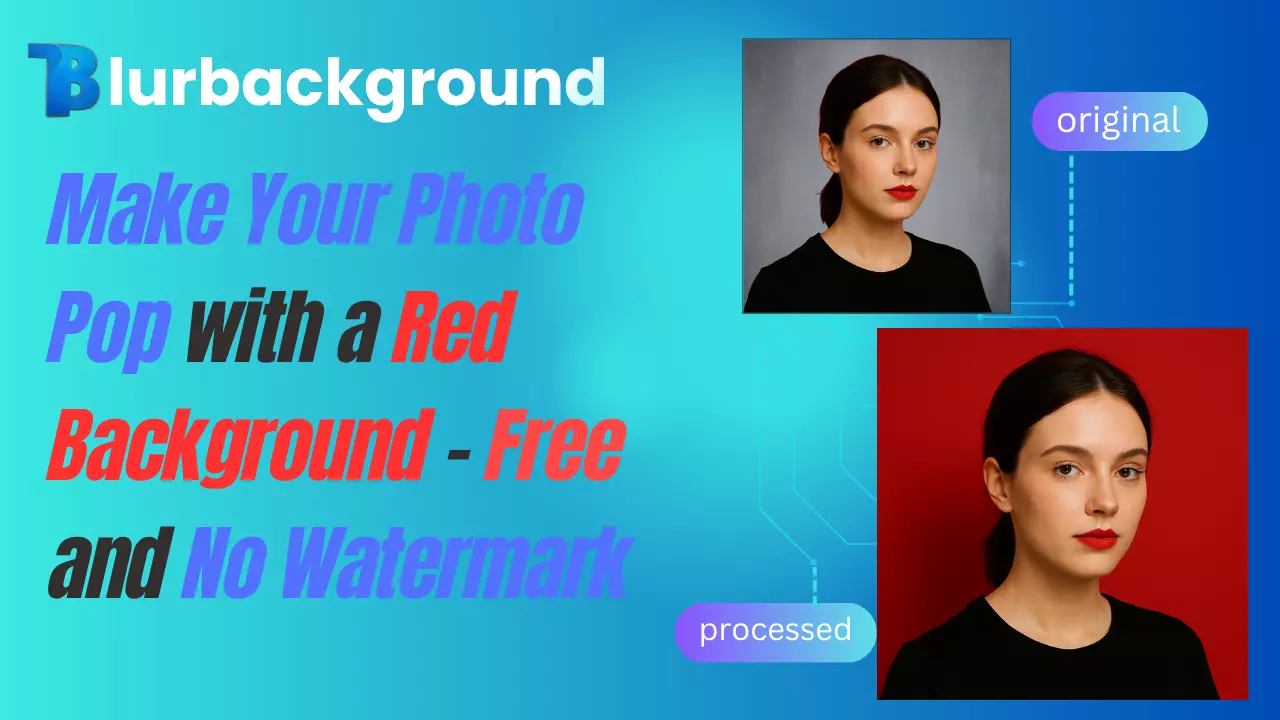

How to Choose the Perfect Blur Intensity with Blurbackground AI
In modern photography, blur effects can significantly enhance the quality of your photos. Whether you're highlighting a subject or creating a dreamy background, appropriate blur can make your images more captivating. Blurbackground AI is your perfect companion for this purpose, helping users easily control blur effects and enhance their photos' visual impact.
Understanding the Importance of Blur Effects
The Psychological Impact of Blur
Blur effects significantly influence how viewers emotionally respond to photographs. Imagine a sharp portrait contrasting with a blurred background - the subject becomes more prominent, creating a warm, intimate feeling. Using blur to mask distracting backgrounds helps direct viewers' attention to the main content, enhancing emotional resonance.
Professional photographers often leverage this psychological effect to guide viewers' emotions:
- Deep background blur: Creates a sense of isolation, placing subjects in their private space
- Subtle blur effects: Maintains environmental context while reducing visual distractions
- Gradient blur: Creates depth, naturally guiding the eye from sharp to blurred areas
Research shows that people form stronger emotional connections with visually clean and focused images, which explains why blur effects are crucial in photography.
Types of Blur and Their Applications
Different blur types serve unique purposes and technical characteristics:
Background Blur (Depth of Field):
- Characteristics: Sharp subject, gradually blurred background
- Best for: Portrait, product, and pet photography
- Pro tip: Blur intensity should correlate with subject-background distance
Motion Blur:
- Characteristics: Simulates movement trails of dynamic objects
- Best for: Sports, street, and automotive photography
- Pro tip: Align blur direction with movement, adjust intensity based on desired speed effect
Bokeh Blur:
- Characteristics: Transforms light points into soft circular or polygonal light spots
- Best for: Night photography, romantic scenes, holiday atmosphere
- Pro tip: Bokeh intensity relates to light sources and aperture size
Radial Blur:
- Characteristics: Radiating blur from center outward or vice versa
- Best for: Emphasizing central subjects, creating speed or explosion effects
- Pro tip: Center point placement determines visual focus
Understanding these blur types and their applications helps make more professional adjustments in Blurbackground AI.
Basic Operation Process of Blurbackground AI
Before diving into blur adjustment details, let's familiarize ourselves with the basic operation process of Blurbackground AI:
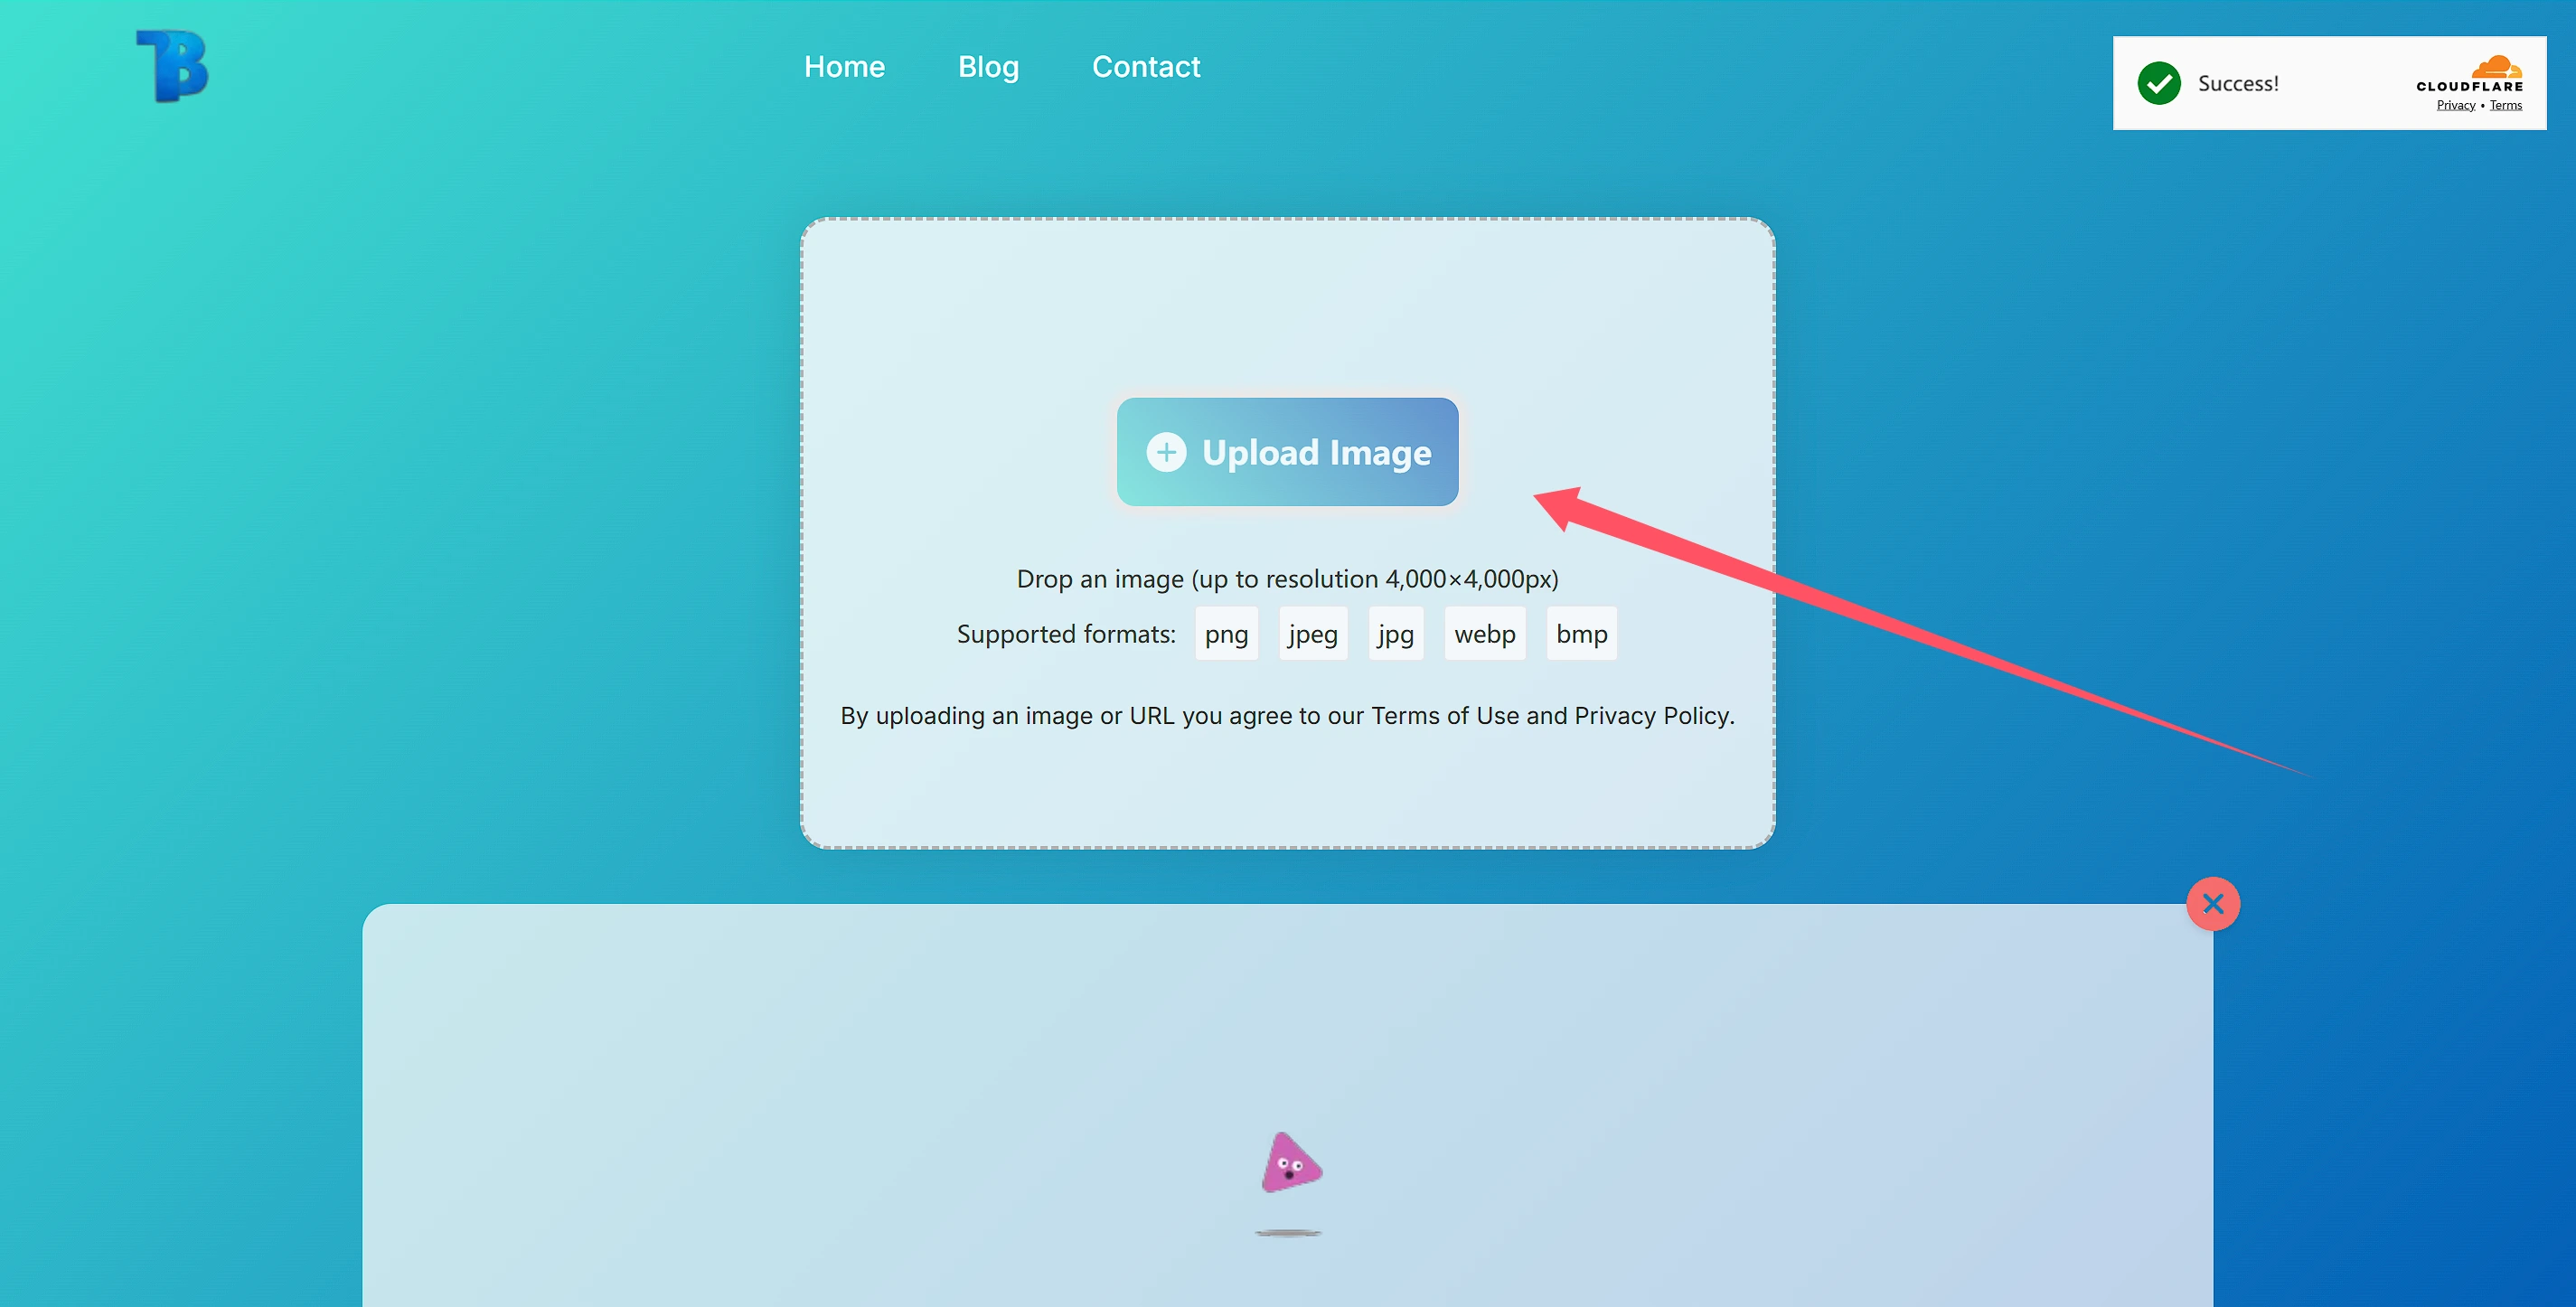
- Access Platform: Visit Blurbackground AI's official website or open the application
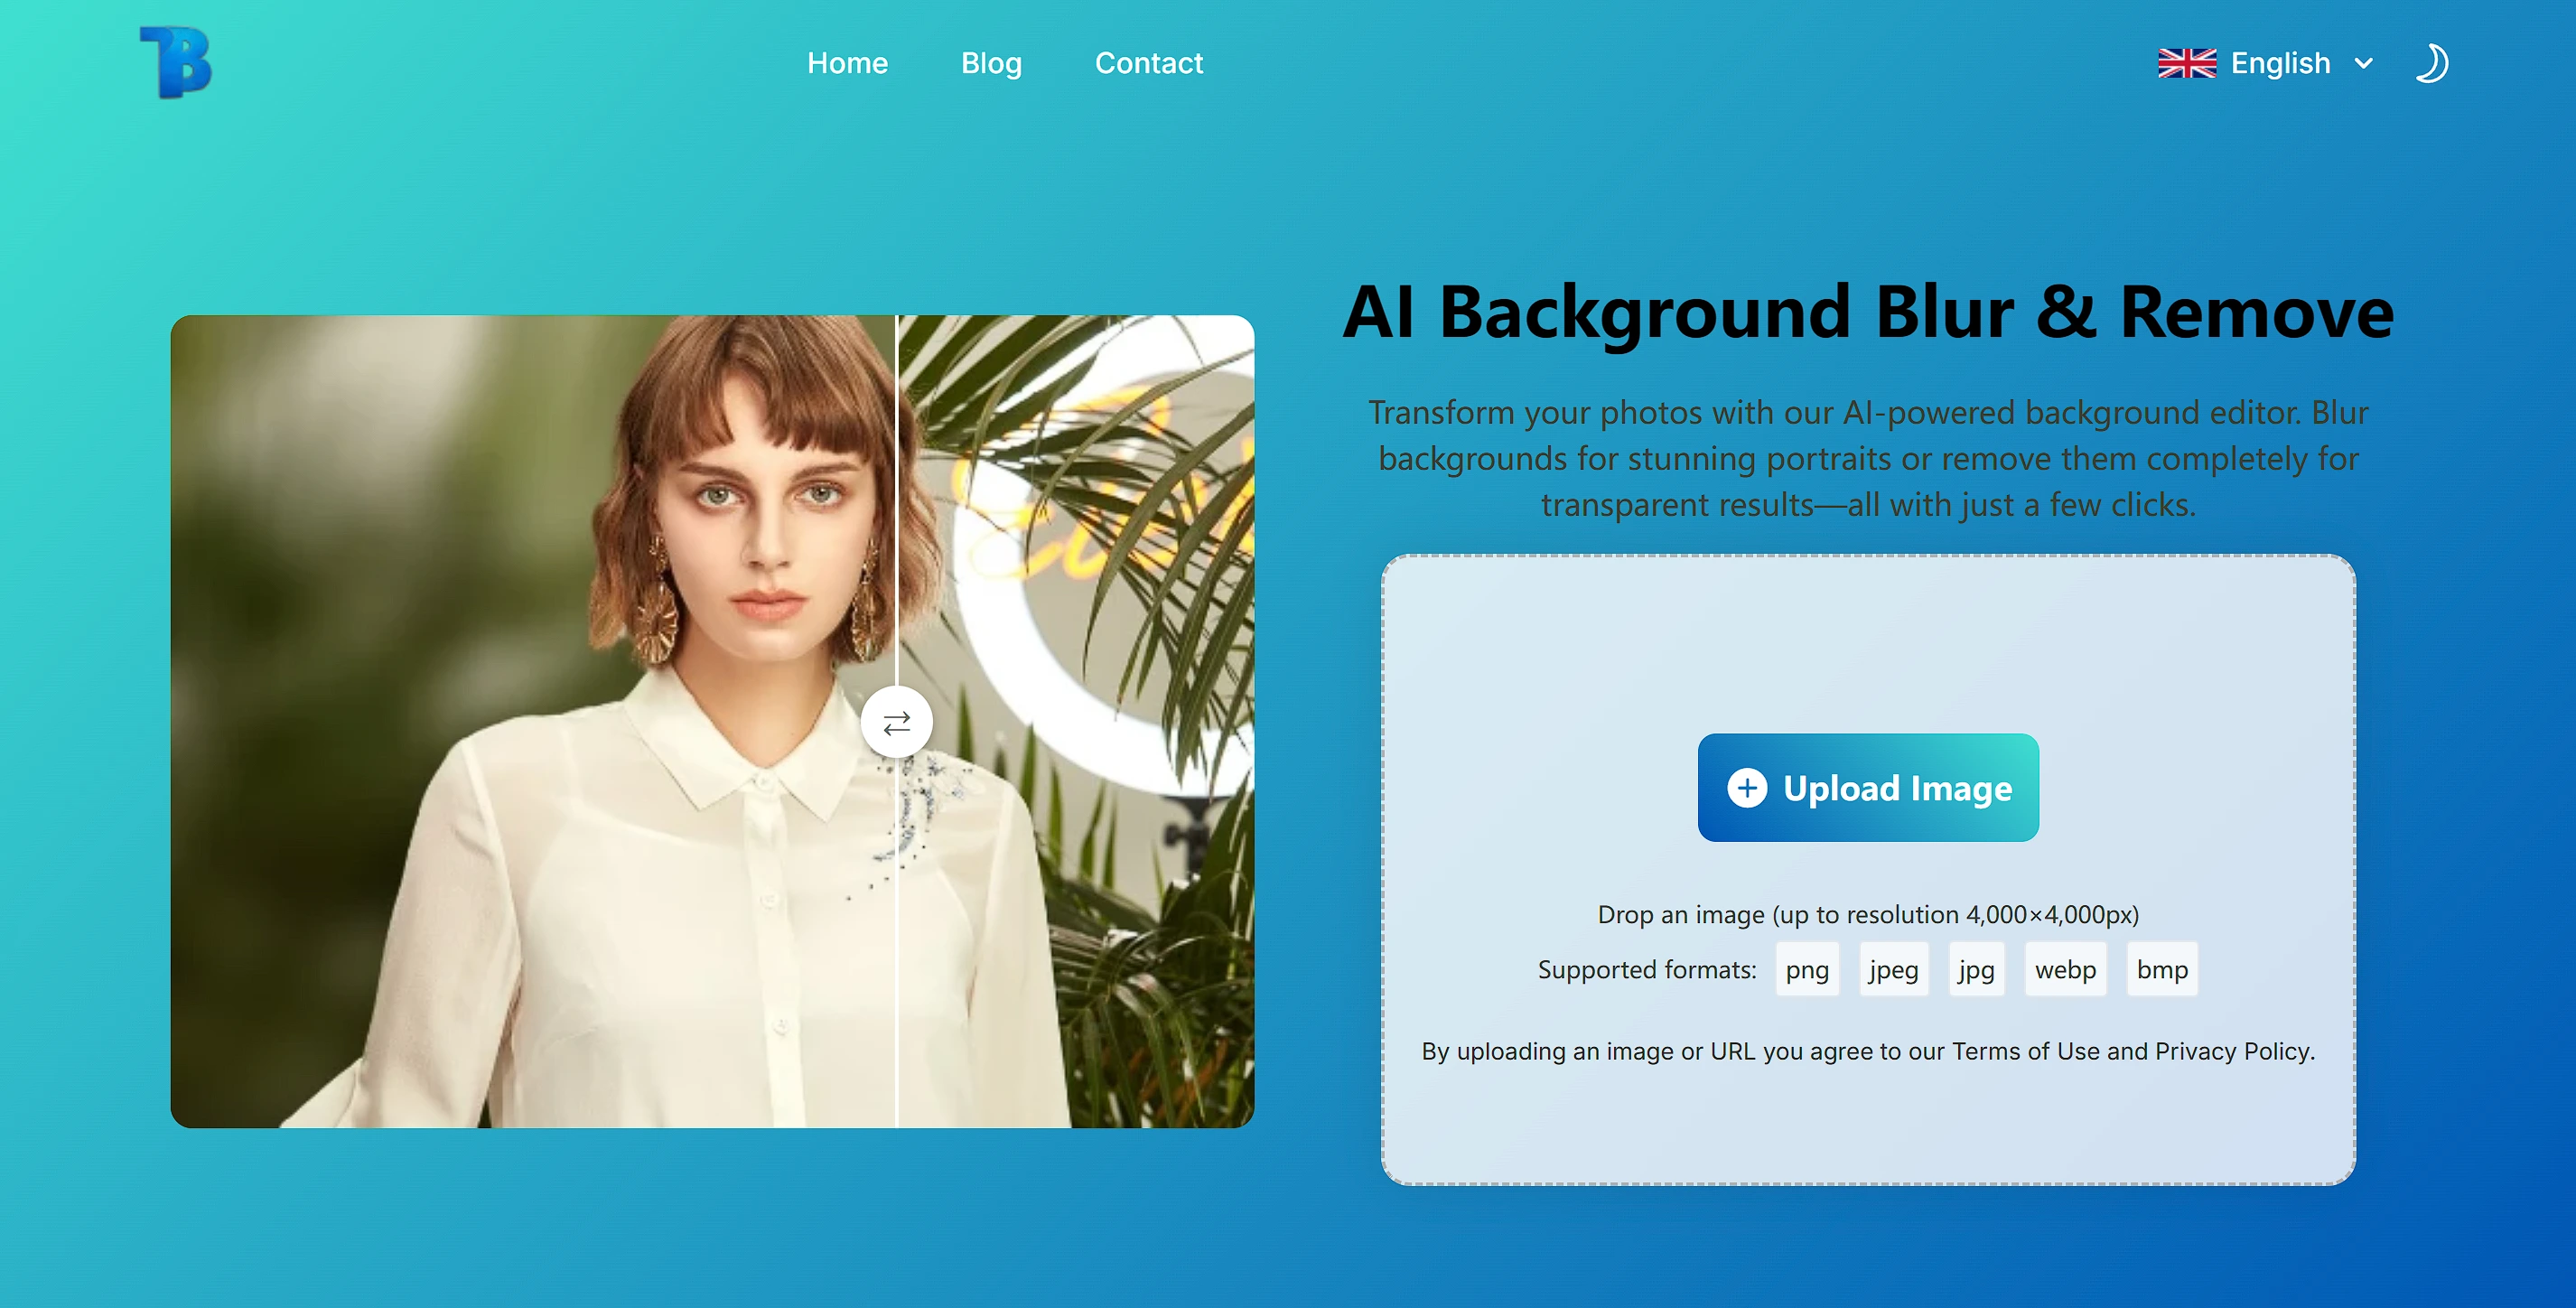
- Upload Photo: Click the "Upload" button to select photos from your local device
- Automatic Analysis: The system automatically analyzes the photo, identifying foreground and background
- Adjust Blur: Use interface tools to adjust blur intensity and effects
- Preview Effects: View adjustments in real-time
- Export and Save: Export the photo after completion, save locally or share to social media
This streamlined process is designed to be intuitive, making it accessible even for first-time users.
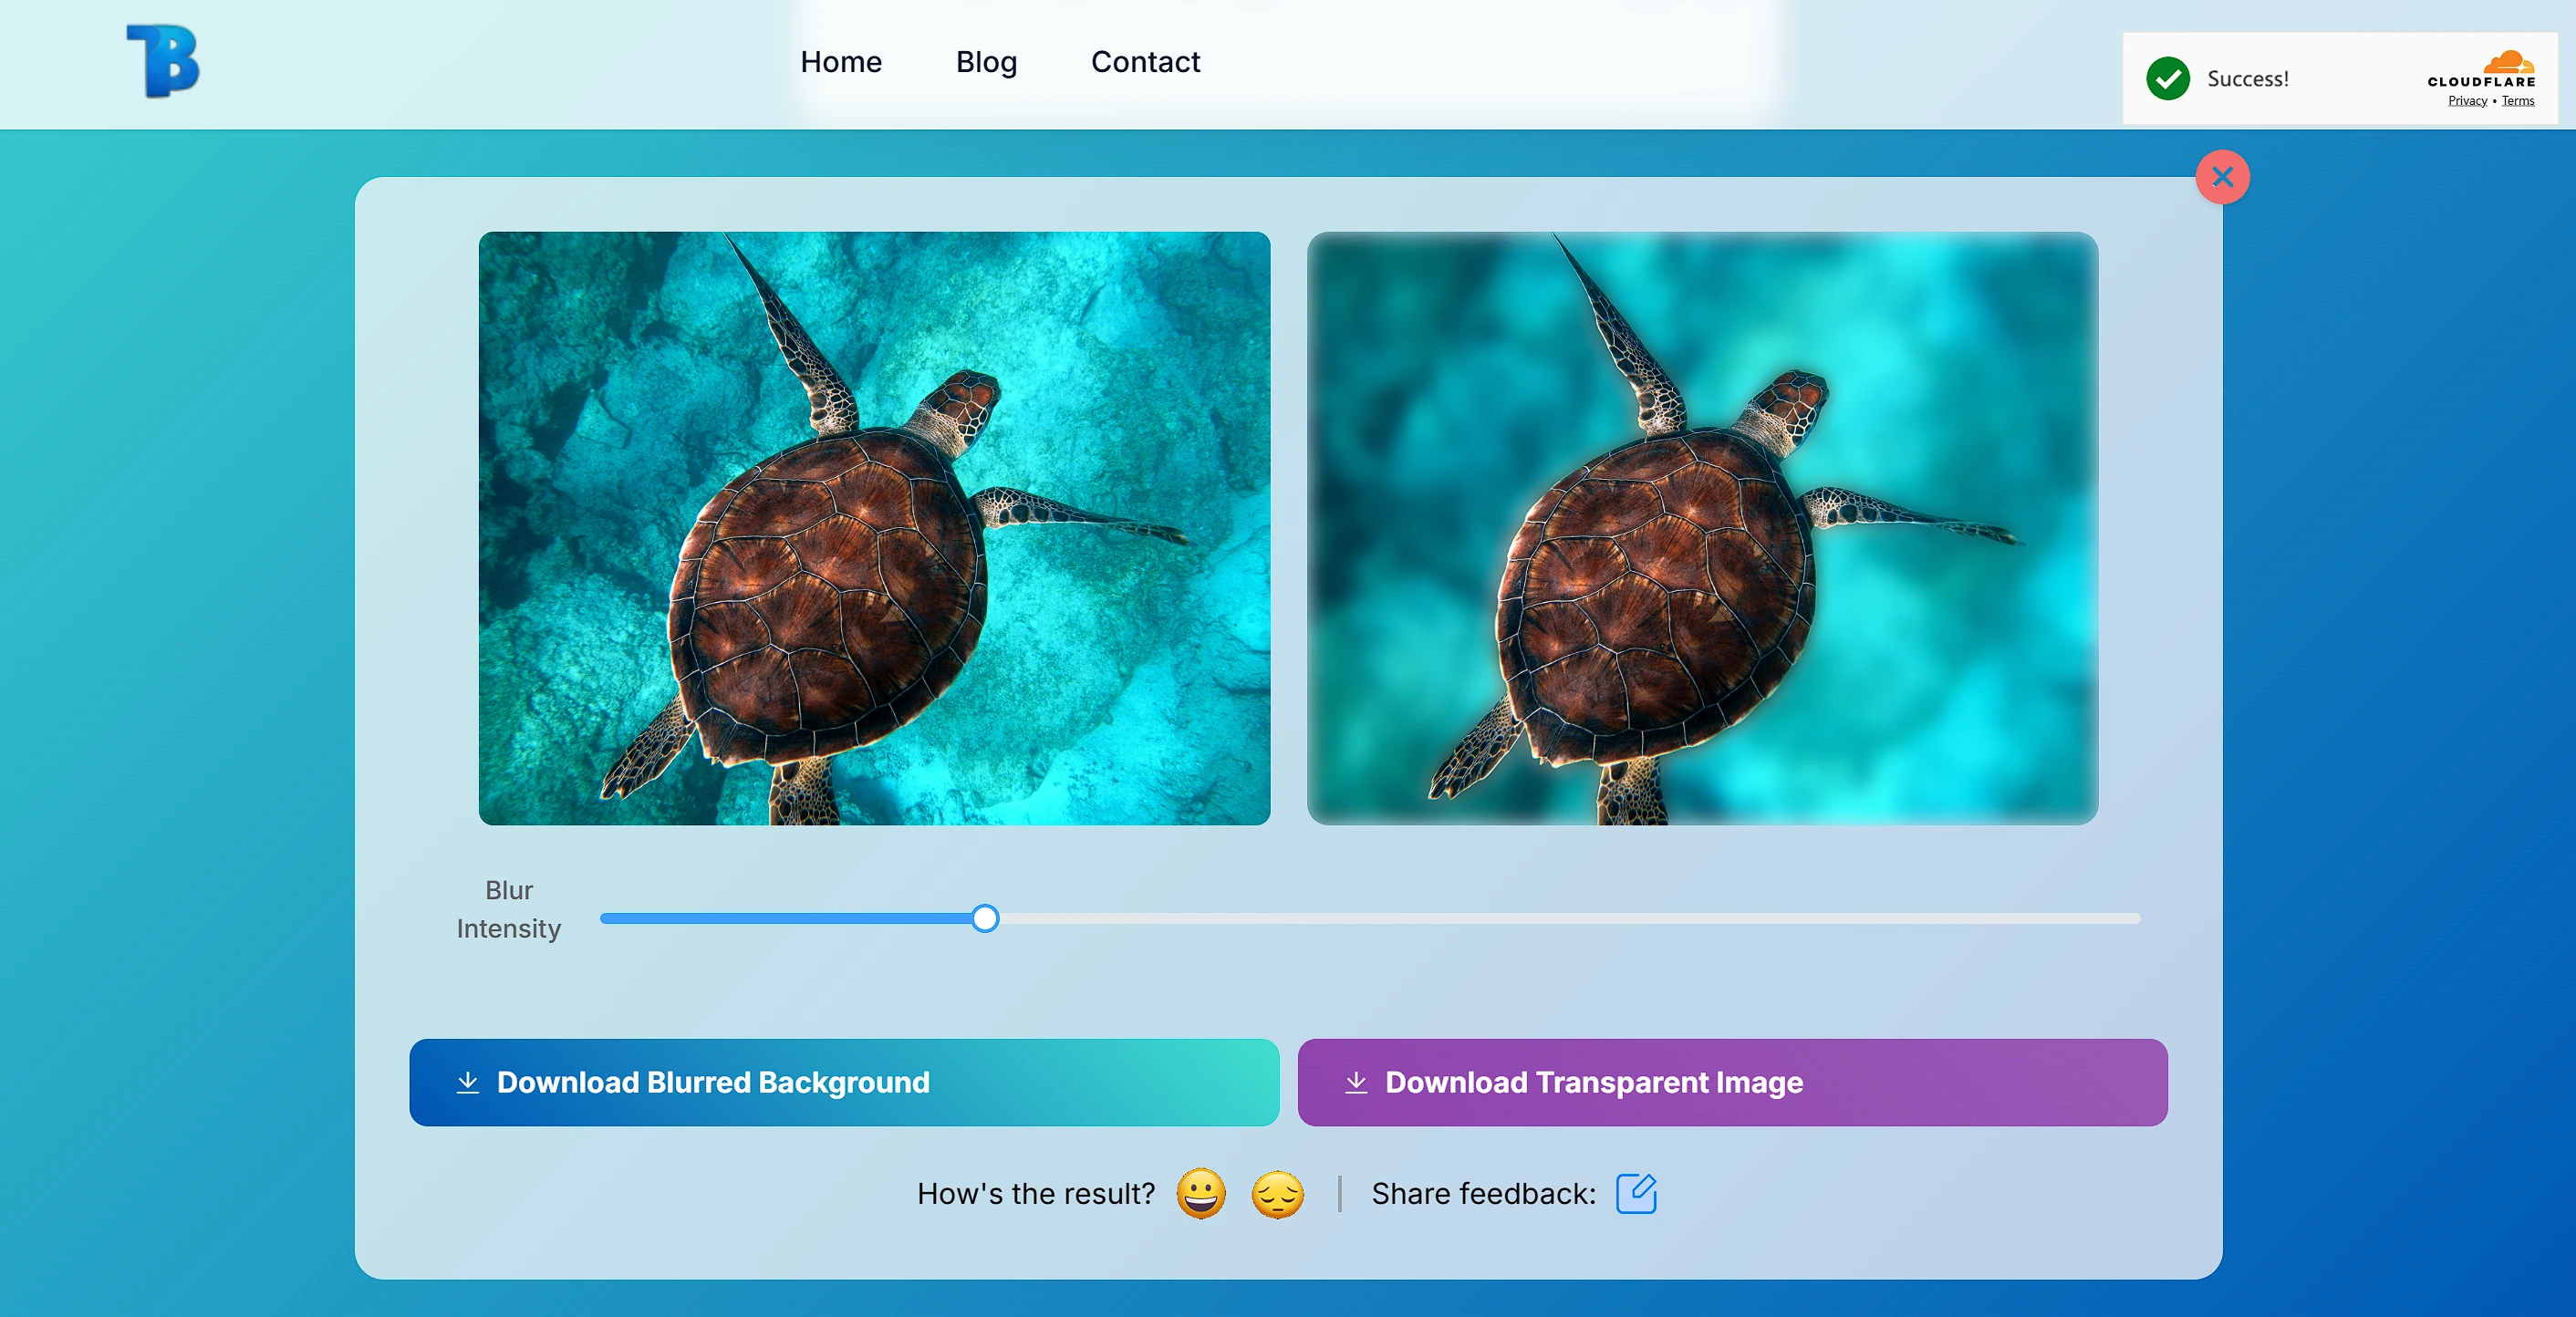
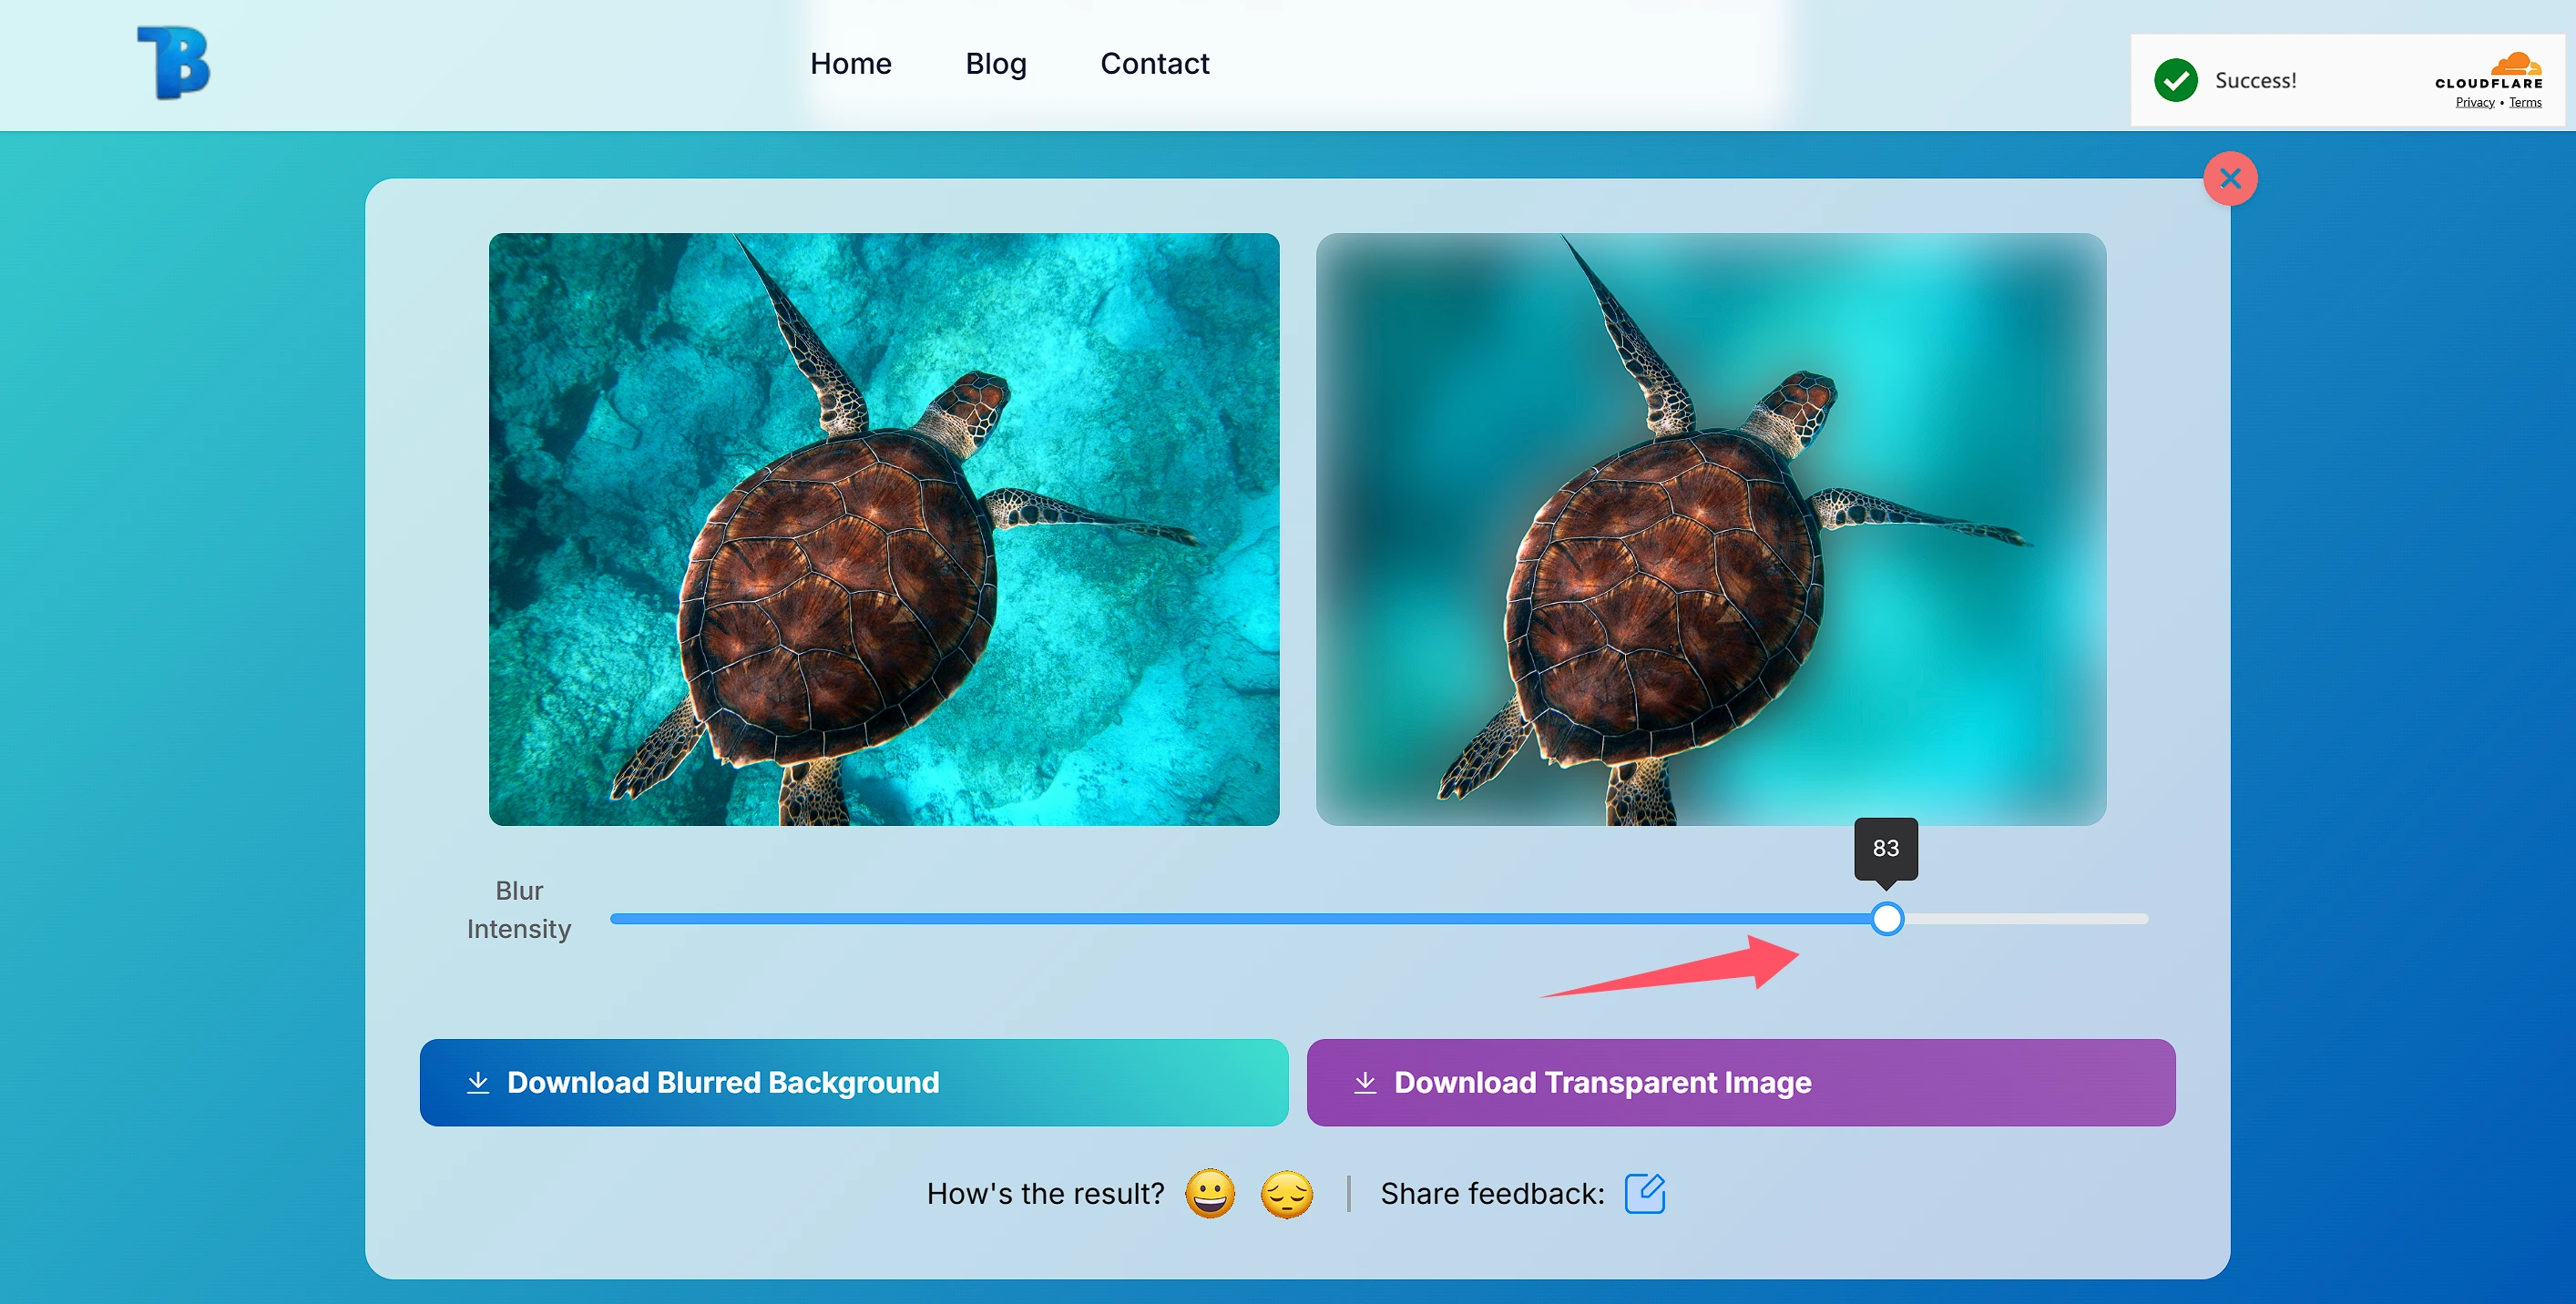
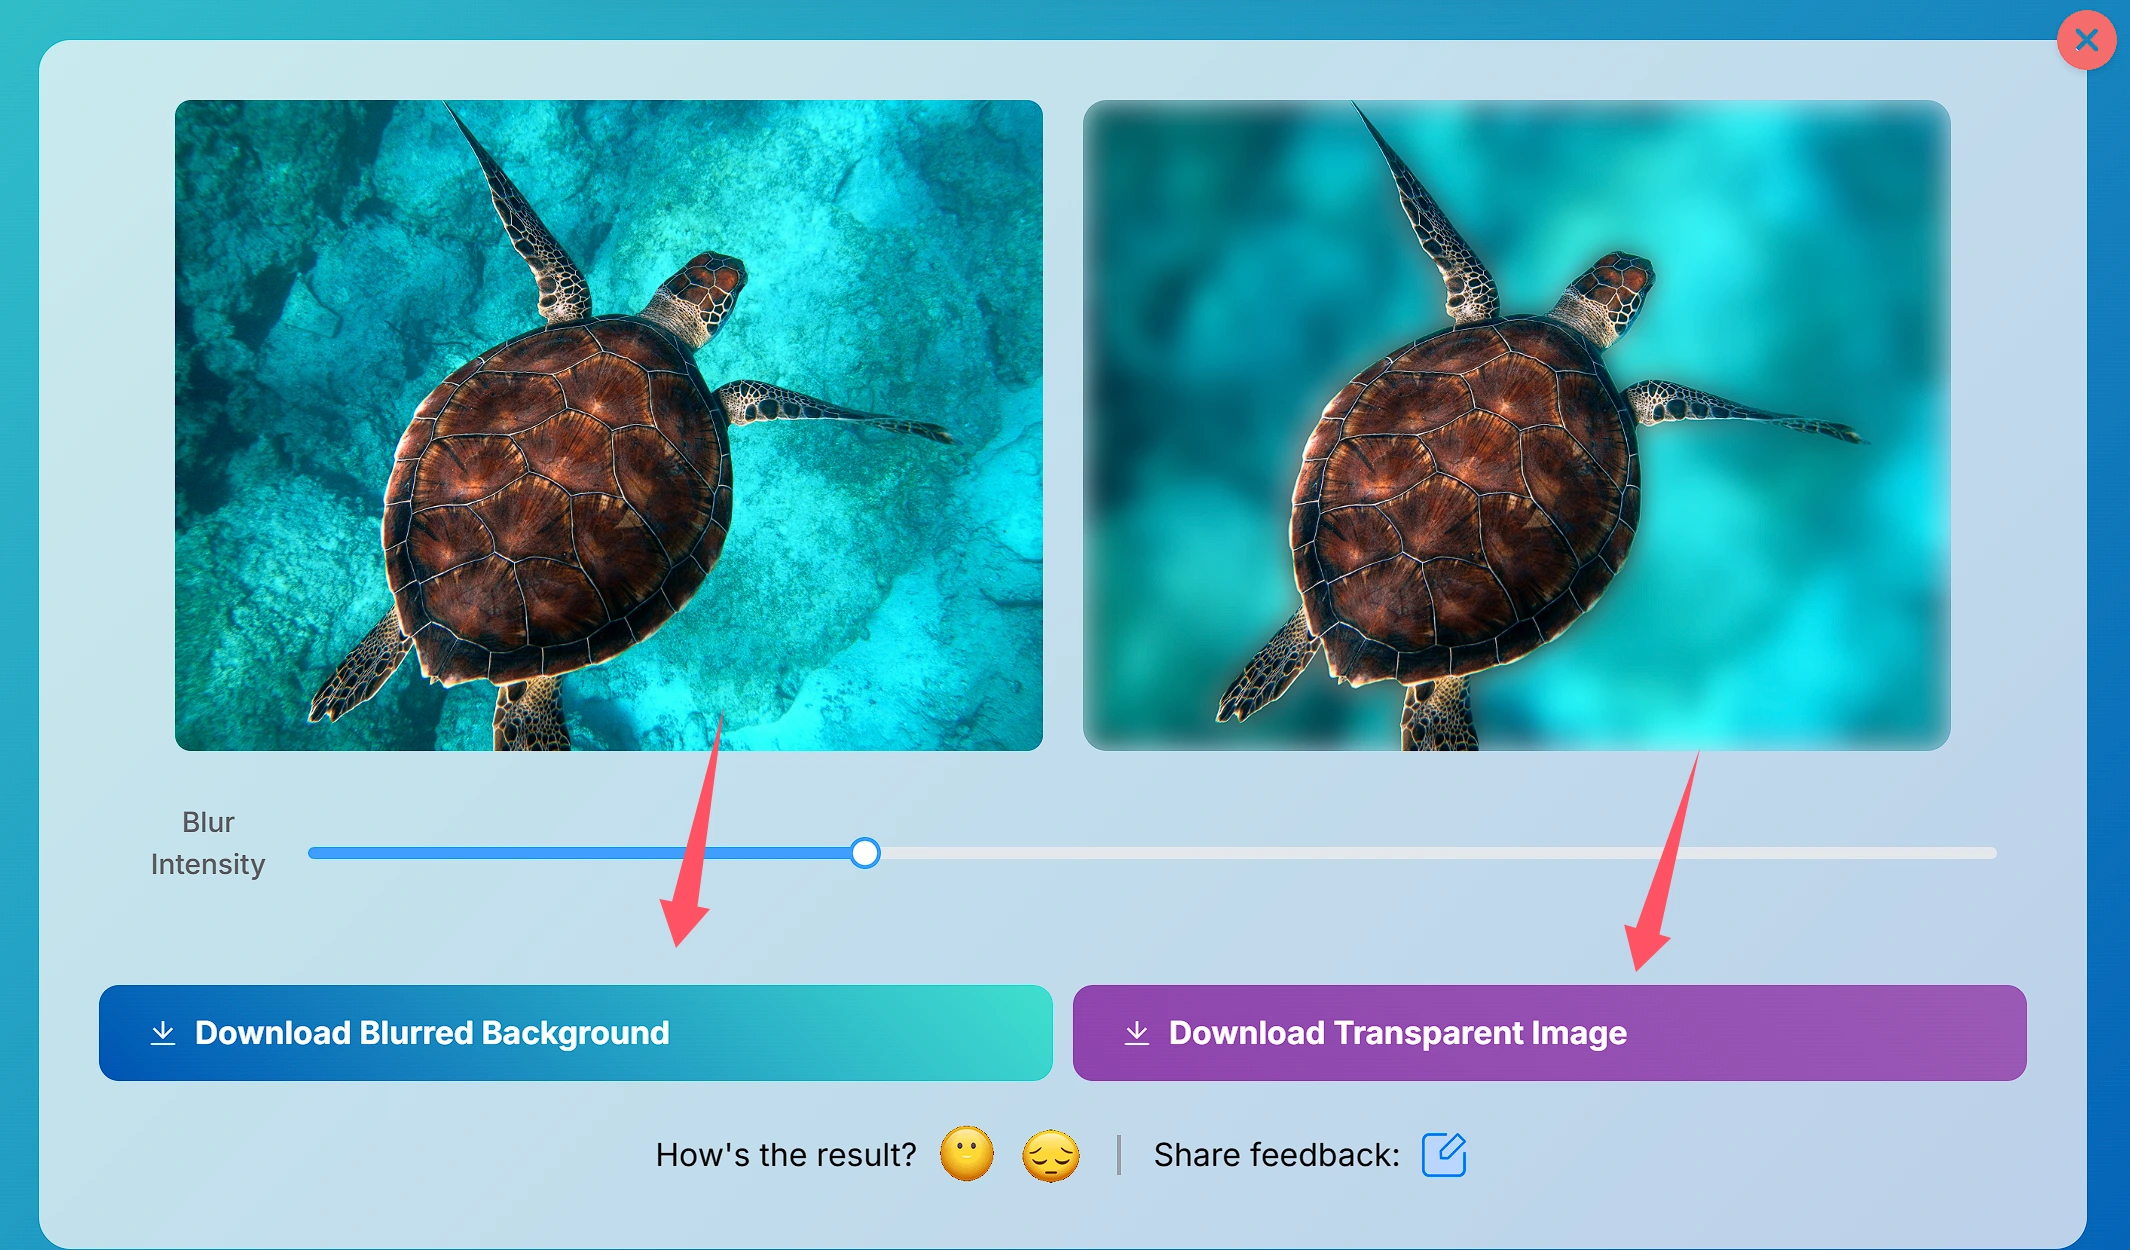
Adjusting Blur Intensity with Blurbackground AI
The core functionality of Blurbackground AI is providing precise blur intensity control, allowing users to customize effects based on photo content and creative intent.
Using the Slider to Adjust Blur Intensity
Blurbackground AI offers an intuitive slider interface for adjusting blur intensity. Here's how to use it:
- Upload Photo: Select and upload the photo you want to edit
- Subject Recognition: The system automatically identifies the main subject, or you can manually select areas
- Adjust Blur Intensity:
- Drag the main slider to control overall blur intensity (0-100%)
- Light blur (10-30%): Suitable for subtle subject-background separation
- Medium blur (30-60%): Creates clear foreground-background separation
- Heavy blur (60-90%): Creates dreamy or artistic effects
- Extreme blur (90-100%): Creates abstract or surreal effects
- Fine-tune Blur Transition: Use the "Transition Smoothness" slider to adjust the natural transition between sharp and blurred areas
- Select Blur Type: Choose different blur algorithms (Gaussian blur, Box blur, Radial blur, etc.)
- Real-time Preview: System shows adjustments in real-time for easy comparison
- Save or Continue Editing: Save when satisfied or continue with other adjustments
This visual approach makes it easy for beginners while offering enough options to satisfy professional users.
How to Choose the Optimal Blur Intensity
Selecting the ideal blur intensity requires considering multiple factors. Here are professional photographers' recommended selection criteria:
1. Choose Blur Intensity Based on Photo Subject
- Portrait Photography: Portraits typically work best with medium to high blur (40-70%), highlighting facial features while softening skin tones and environment
- Landscape Photography: Landscapes benefit from light blur (10-30%), maintaining environmental details while adding depth
- Product Photography: Product photos work well with medium blur (30-50%), ensuring product details remain sharp while minimizing background distractions
- Street Photography: Street shots benefit from light to medium blur (20-40%), preserving environmental atmosphere while emphasizing key elements
- Pet Photography: Pet photos work best with medium blur (40-60%), emphasizing pet expressions while blurring backgrounds
2. Consider Photo Emotional Expression
- Warm, Gentle Emotion: Choose higher blur (50-70%), create dreamy, gentle atmosphere
- Serious, Formal Emotion: Choose medium blur (30-50%), maintain professional look
- Dynamic, Energetic Emotion: Choose lower blur (20-40%), preserve environment details to enhance dynamic feeling
3. Adjust Based on Image Detail Density
- Rich Background Details: Use higher blur (50-80%) to reduce visual interference
- Simple Background: Use lower blur (20-40%) to maintain overall harmony
- Complex Subject Details: Use medium blur (40-60%) to ensure subject won't mix with background
Advanced Blur Adjustment Techniques
In addition to basic blur intensity adjustment, Blurbackground AI offers some advanced settings for experienced users:
Local Blur Adjustment
Using the "Local Adjustment" tool, you can apply different blur effects to different areas of the photo:
- Select "Local Adjustment" tool
- Use brush tool to select areas needing adjustment
- Set separate blur intensity for selected areas
- Adjust brush size and hardness to ensure natural edge transition
This feature is great for complex scenes, such as multi-level background or photos needing to retain specific background elements.
Blur Direction Control
Some types of photos (like sports photos) require controlling blur direction:
- Find "Blur Direction" option in advanced settings
- Use direction control wheel or angle input to set blur direction
- Adjust direction intensity to control directional blur visibility
Aperture Simulation Adjustment
Blurbackground AI's unique "Aperture Simulation" feature can simulate natural blur effects from different apertures:
- Select "Aperture Simulation" mode
- Adjust simulated aperture value (f/1.4 to f/16)
- Set simulated focal length to affect blur characteristics
- Adjust bokeh shape (circle, hexagon, octagon, etc.)
This feature can create more natural and professional blur effects, especially for users aiming to simulate high-end camera bokeh effects.
Optimizing Photo Effects
After mastering basic blur adjustment, here are some advanced tips to further improve photo quality:
Choosing Appropriate Subject Focus
Before applying blur effects, it's crucial to identify the main focus of the photo:
- Identify Visual Center: Determine the most attractive element or area in the photo
- Consider Composition Rules: Apply thirds or golden ratio to determine subject position
- Notice Line of Sight: If there's a person in the photo, ensure their line of sight has enough space
- Light and Shadow Contrast: Use light and shadow contrast to create natural focus
- Color Contrast: Use color contrast to attract attention
After identifying focus, you can apply blur effects more targeted, ensuring gradual blur intensity increase from focus to background, creating natural visual layers.
Maintaining Detail Balance
Over-blurring can lead to loss of texture, while under-blurring can't achieve expected effect. Here are some tips to maintain balance:
- Retain Key Texture: Even in blurred areas, retain some texture information to avoid complete smoothness
- Edge Processing: Ensure natural transition between subject and background, avoid obvious "cutting"
- Depth Gradation: Simulate natural depth of field, distant areas should have stronger blur effect
- Avoid Excessive Processing: Periodically zoom in to check details, ensure no unnatural artifacts
Combining with Other Editing Tools
Blurbackground AI can be combined with other editing tools to create more professional effects:
- Color Adjustment: Adjust photo color first, then apply blur effect to enhance visual impact
- Light Enhancement: Add light effect or adjust exposure, then combine with blur effect to create dramatic atmosphere
- Contrast Enhancement: Increase contrast between subject and background, then apply blur to further strengthen focus
- Selective Sharpening: After applying background blur, slightly sharpen subject area to create stronger visual conflict
Blur Application in Different Scenarios
Here are some practical application cases and recommended settings for blur effects:
Indoor Portrait Photography
- Recommended Blur Intensity: 50-65%
- Blur Type: Gaussian blur
- Transition Smoothness: 70-80%
- Tip: Retain basic outline of indoor environment, but blur details, focus on character expression and posture
Product Display Photography
- Recommended Blur Intensity: 40-55%
- Blur Type: Box blur
- Transition Smoothness: 60-70%
- Tip: Ensure product edge clarity, retain color and shape of background elements, eliminate distracting details
Natural Landscape Photography
- Recommended Blur Intensity: 15-30%
- Blur Type: Lens blur
- Transition Smoothness: 50-60%
- Tip: Retain depth feeling of landscape, apply slight blur to farthest elements, enhance层次感
Dynamic Sports Photography
- Recommended Blur Intensity: 25-45% (subject motion) + 60-75% (background)
- Blur Type: Motion blur
- Direction Control: Align with motion direction
- Tip: Apply slight motion blur to subject, simultaneously apply strong directional blur to background, enhance speed feeling
Avoiding Common Blur Processing Errors
When using Blurbackground AI, beginners often make the following mistakes, knowing and avoiding these issues can help you create more professional photos:
1. Excessive Blur Intensity
Excessive blur intensity can make photo look unnatural, especially when background contains identifiable elements.
Solution: Start from 30% blur intensity, gradually increase until achieving desired effect. Periodically zoom in to check blur level.
2. Subject Edge Processing
Common issue is "halo" or unnatural transition at subject edge.
Solution: Use "Edge Precision" tool in Blurbackground AI to adjust edge detection sensitivity, or use "Fine Brush" manually fix problem areas.
3. Uneven Blur Application
Uneven blur effect can make photo look like collage rather than natural shot.
Solution: Use "Depth Mapping" feature to ensure blur level changes naturally with distance, or use "Gradual Blur" tool to create smooth transition.
4. Ignoring Original Photo Quality
Applying blur effect to low-quality photo can amplify existing noise and flaws.
Solution: First use noise reduction tool to process photo, then apply blur effect. For low-resolution photos, use lower blur intensity.
Advanced: Ideal Blur Effect for Different Style Photos
Fashion Photography Blur Processing
Fashion photography usually requires clean, high contrast image, blur effect should be precise and design-oriented:
- Recommended Blur Intensity: 45-65%
- Recommended Tip: Maintain background color and subject clothing coordination, use "Color Preservation" feature to maintain key background tone
- Avoid事项: Over-blur leads to background completely losing environment info, losing fashion scene feeling
Wedding Photography Blur Processing
Wedding photos need romantic, warm atmosphere, blur effect should be gentle and natural:
- Recommended Blur Intensity: 40-60% (indoor), 30-50% (outdoor)
- Recommended Tip: Retain light points in environment to create bokeh effect, use "Light Enhancement" feature to strengthen romantic feeling
- Avoid事项: Over-blur leads to wedding environment and decoration completely unclear, losing scene memory value
Food Photography Blur Processing
Food photography needs to highlight food texture, while creating pleasant dining atmosphere:
- Recommended Blur Intensity: 35-55%
- Recommended Tip: Retain partial details of utensils and decorations, only blur distant background
- Avoid事项: Blur affects food edge, making food look not fresh and appetizing
Common Questions and Answers
Technical Questions
Blurbackground AI Supports Which Image Formats?
Supports all mainstream image formats, including JPEG, PNG, TIFF, RAW. Best input is clear image with resolution no less than 1080p.Processing High Resolution Photos Delay?
For photos over 4K resolution, processing may require extra time. Professional users can use high-performance processing options to accelerate large image processing.Blur Effect Affect Photo Clarity?
Blurbackground AI's intelligent algorithm ensures subject remains clear, only specified background area will be blurred. You can preview effect in real-time, ensuring overall clarity and beauty.
Usage Tips
How to Judge Whether Blur Intensity is Suitable?
A simple method is to first set blur intensity to obviously high level, then gradually decrease until background details just recognizable but not distracting. Alternatively, you can try "A/B Comparison" feature, viewing multiple different intensity effects simultaneously.How to Handle Complex Edge (like Hair) Blur?
Use "Smart Edge Detection" feature, or switch to "Fine Mode", AI will pay special attention to complex edge processing of hair etc. For particularly complex situations, use "Manual Correction" tool for local adjustment.Can I Apply Blur to Multiple Photos Simultaneously?
Professional version supports batch processing feature, you can set uniform blur parameters, or let AI smartly decide best blur setting based on photo content.
Creative Application
Can Blur Effect Be Used for Creative Synthesis?
Of course. You can use "Selective Blur" feature to create surreal effects, like making part of background clear while part of foreground blurry, breaking traditional depth of field rules, creating artistic effects.How to Create Movie-like Blur Effect?
Use "Movie Mode" preset, this mode simulates optical characteristics of movie lens, creating unique movie-like blur effect. Combined with "Color Grading" feature can further enhance movie atmosphere.
Summary
Blur effect plays important role in photo quality enhancement. Through using Blurbackground AI, users not only can easily adjust blur intensity, but also can flexibly adjust based on personal style. Whether you're a beginner or experienced enthusiast, this tool can bring greater convenience and effect improvement to your creation.
Remember these key points:
- Blur effect should serve photo subject and emotional expression
- Start from medium blur intensity, adjust based on needs
- Notice transition natural degree between subject and background
- Choose suitable blur type based on different scenarios and shooting content
- Combine with other editing tools to create complete visual experience
Now, you've mastered professional blur adjustment techniques using Blurbackground AI. Explore the charm of blur, enhance your photography, and start trying now!